
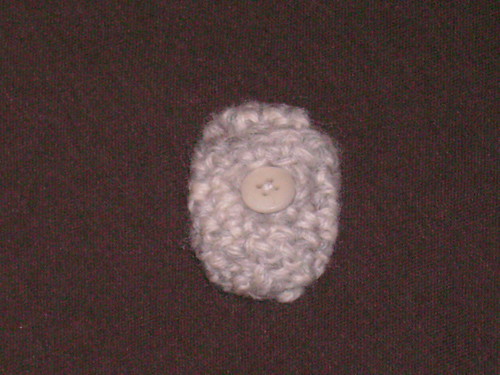
Much more inconspicuous than v 1.0. It's sturdier too.
Here it is while it's open.
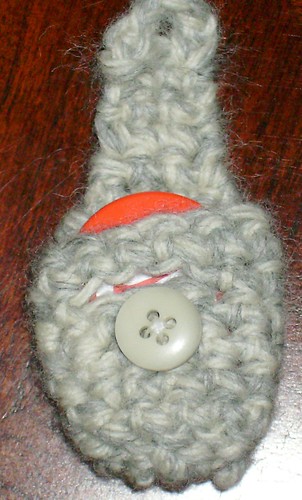
It's attached to the shoe by running the flap through the slit, under the shoe laces then buttoning it. It is more secure than the previous version, and has the added benefit that the sensor can be removed.
I think I'll write a tutorial or patter, but it's simple. The bottom is a tube and the top is just worked back in forth to make a flap. The slit is worked as a horizontal button hole.


1 comment:
This is so cool and functional! I like it!
Post a Comment